
Hypervue for blender
documentation & guide
magnetic 3d camera rig
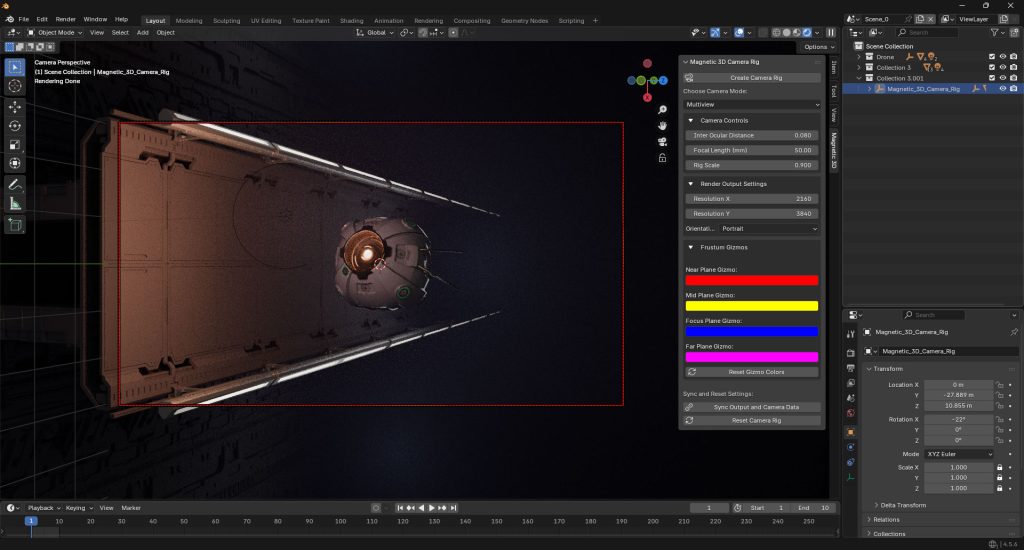
1. Inspect Magnetic 3D Settings
Open the Magnetic 3D tab in the side panel to view the camera rig settings. Press the N key to unhide the side panel if necessary.
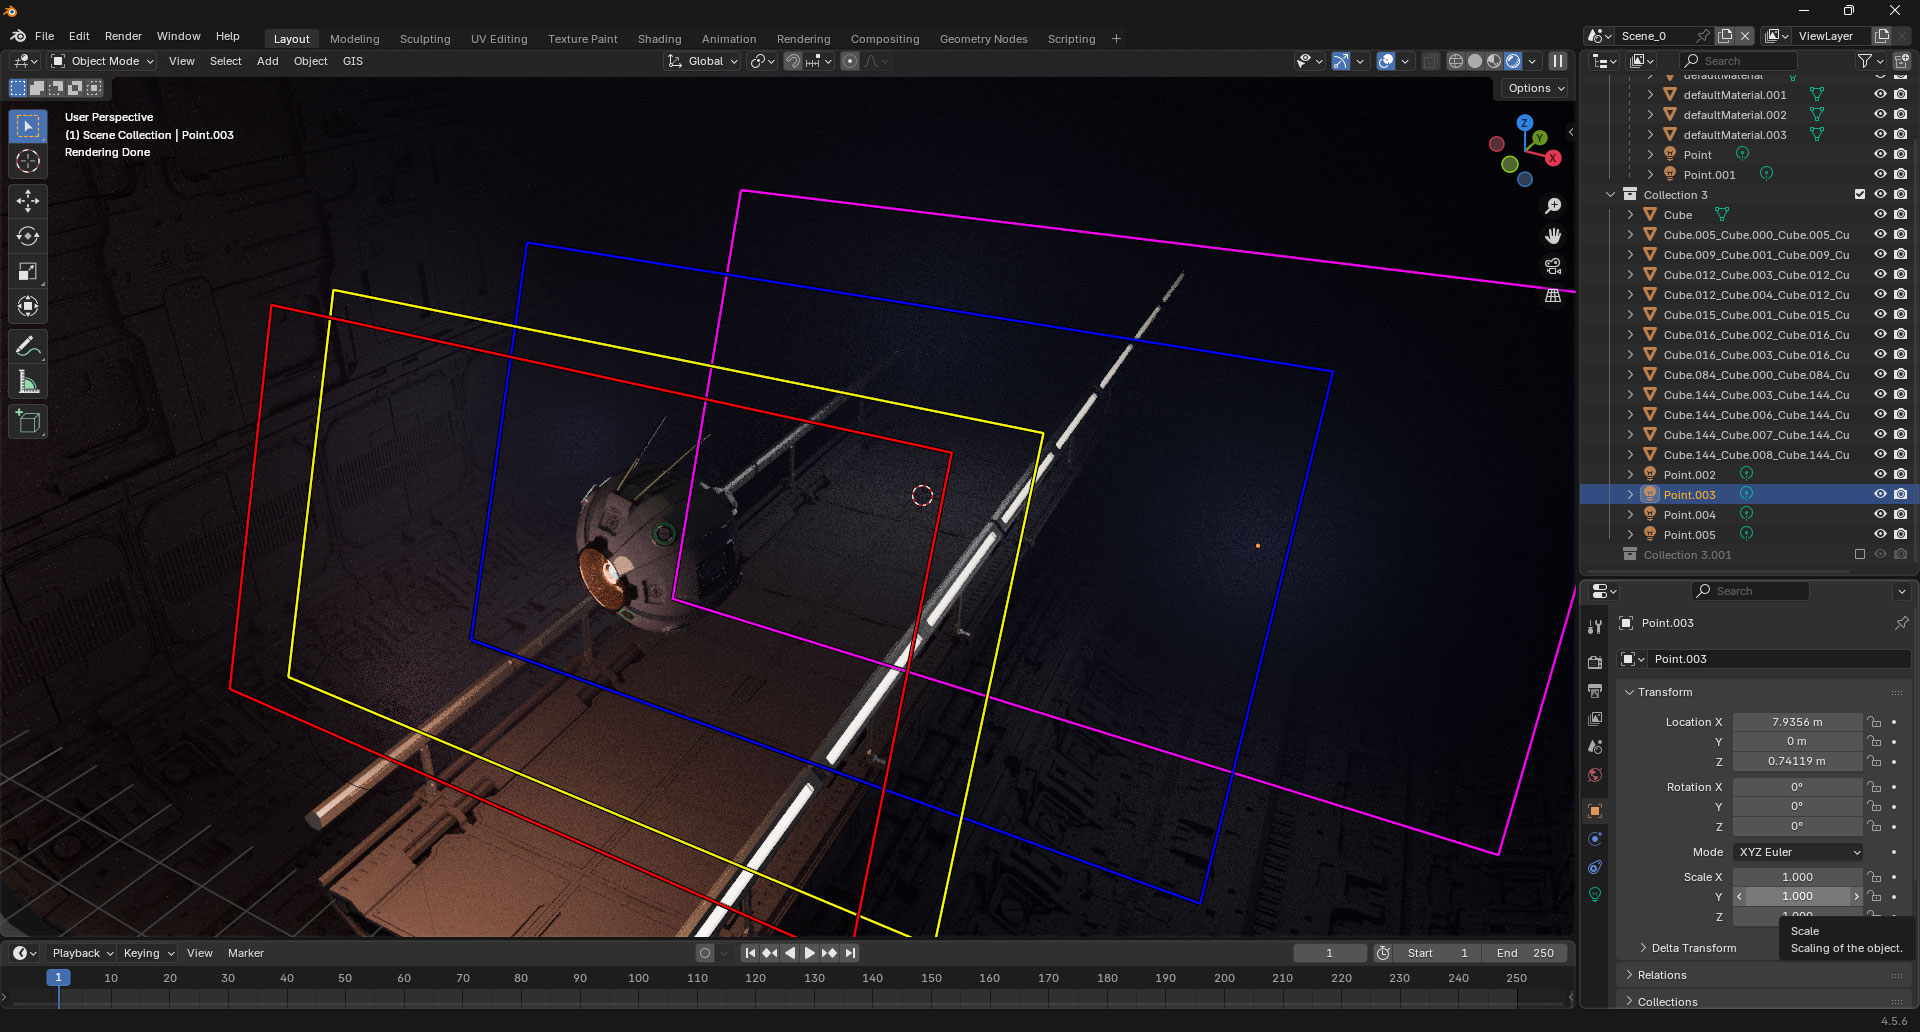
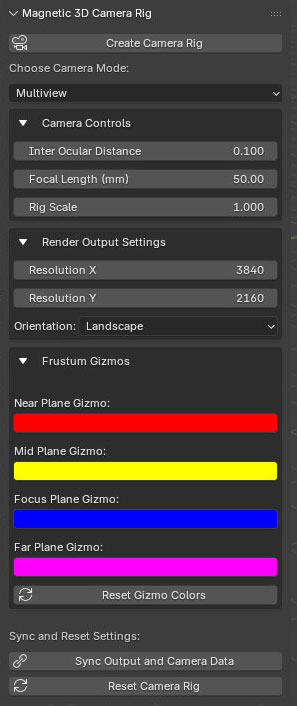
2. Camera Mode
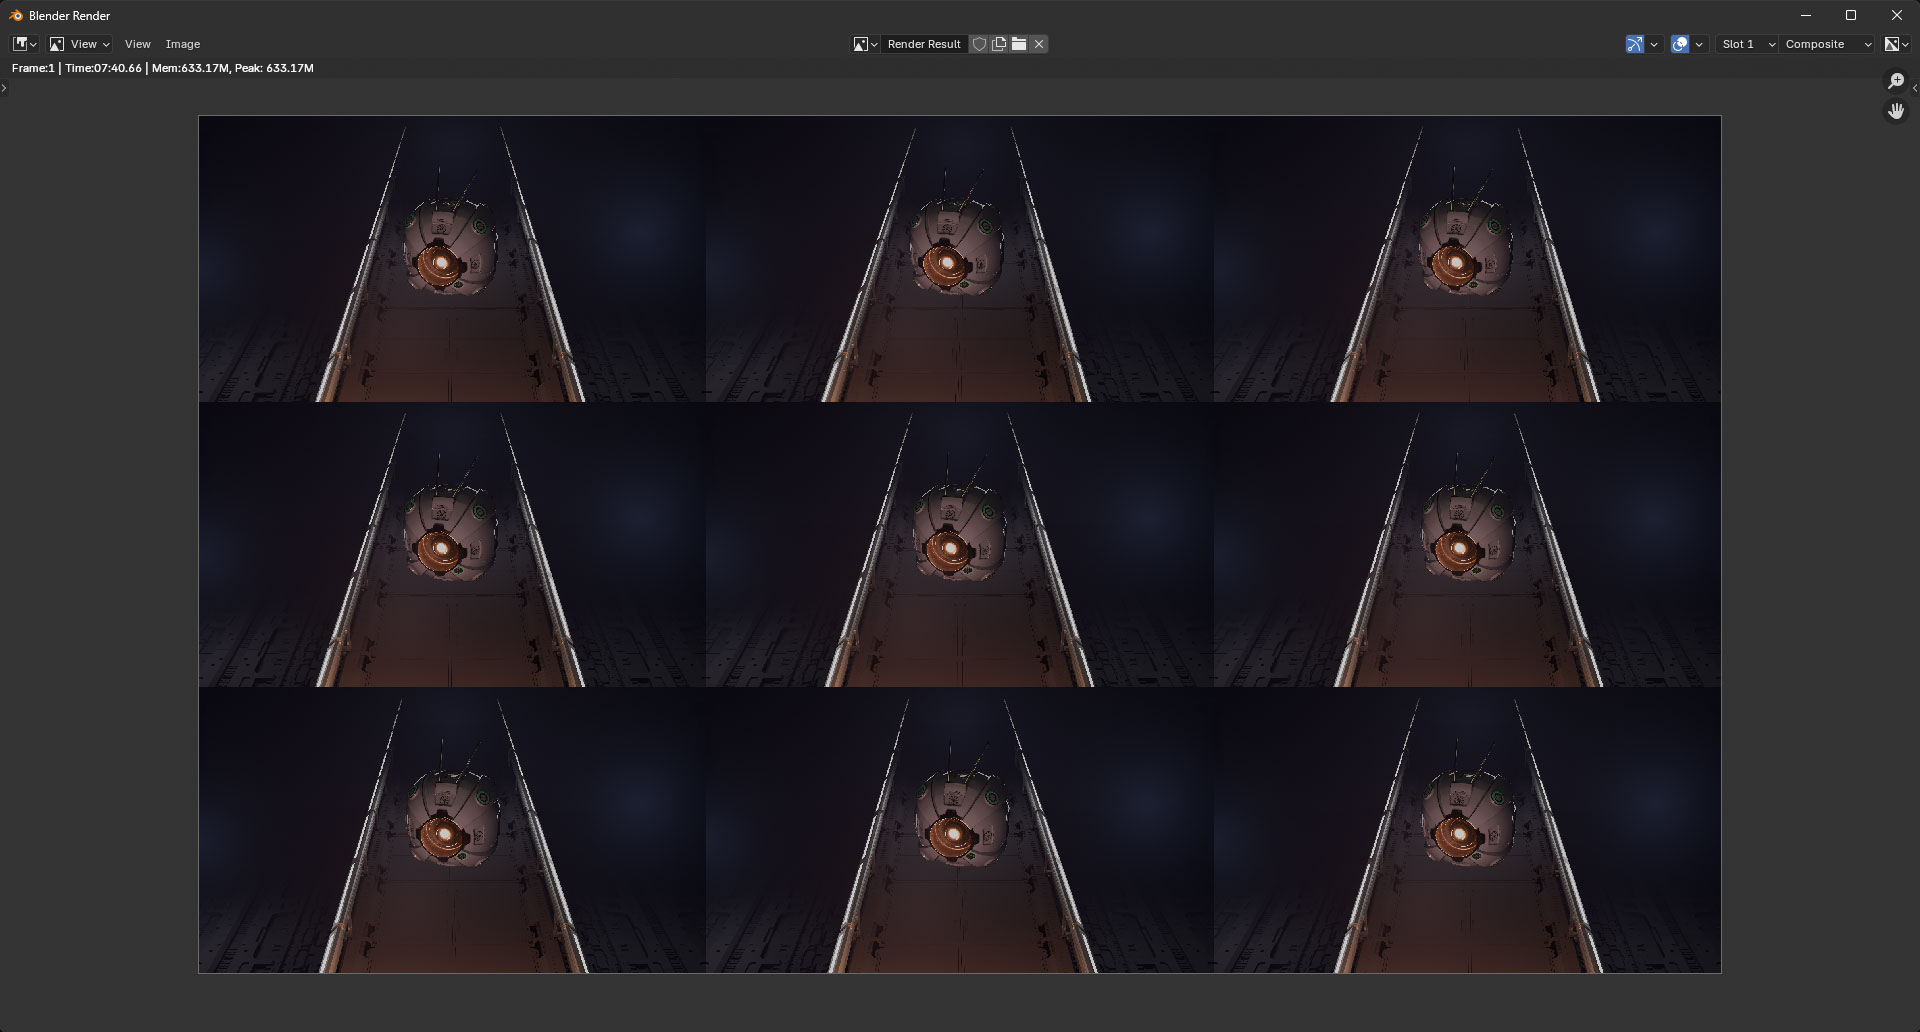
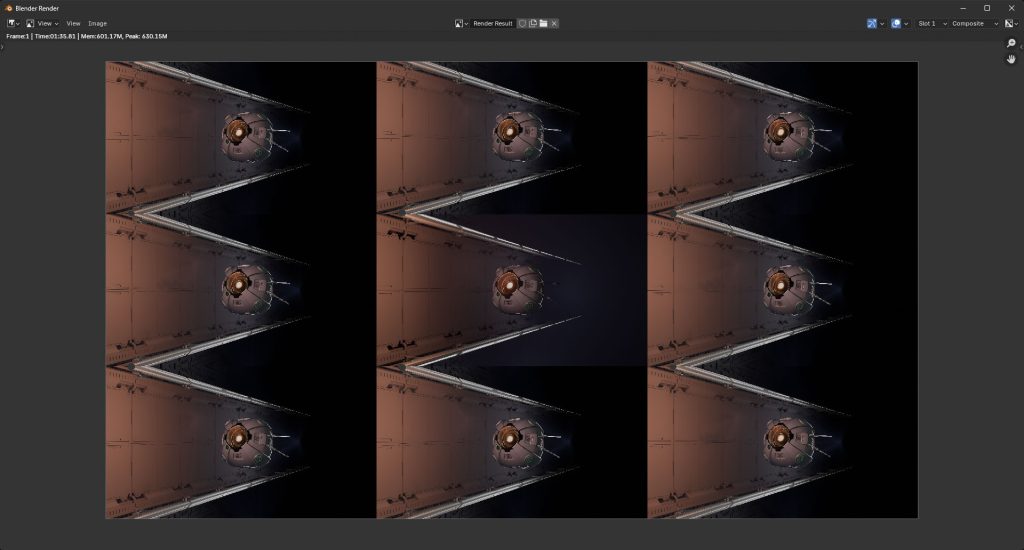
Multiview: Displays a 9-tile grid of views. Use this with the Multiview setting on Magnetic 3D Wildfire displays.
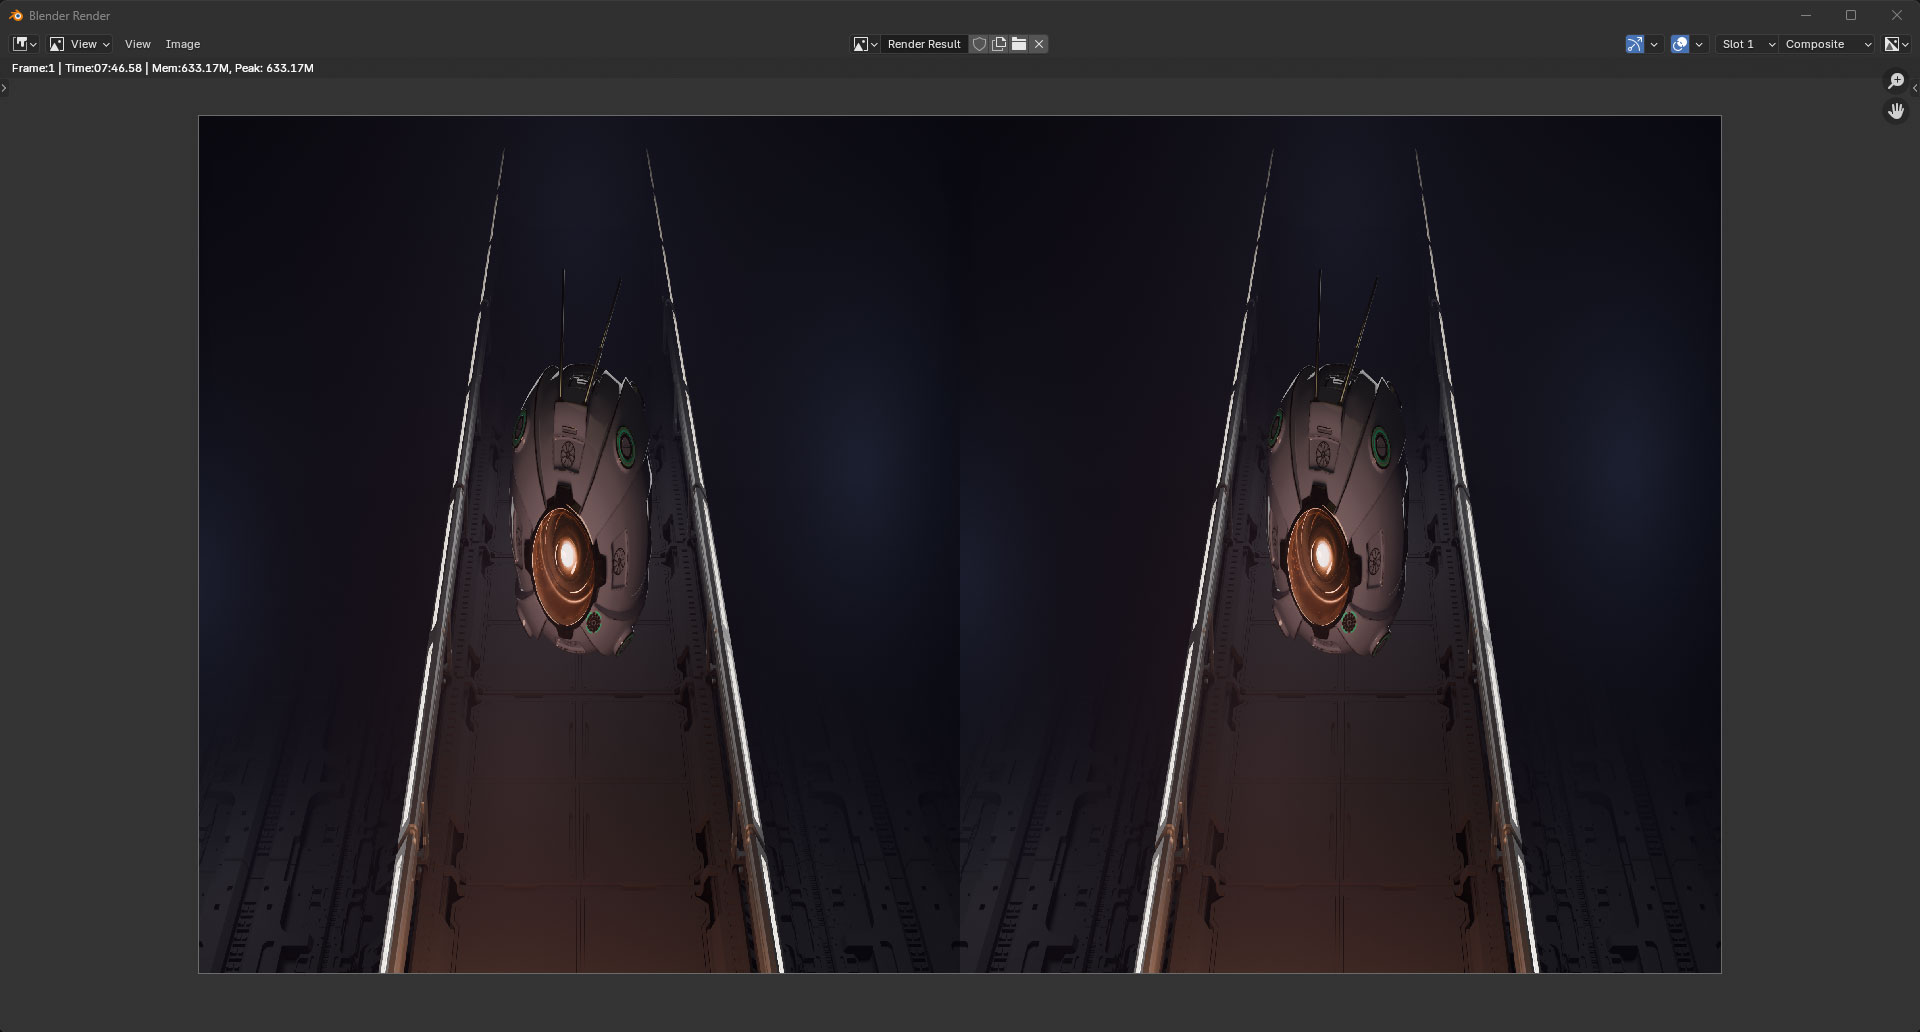
Stereo: Displays a 2-view side-by-side view that is squashed horizontally. Use this with the Stereo setting on Wildfire displays or on Emersa displays with 3D enabled.
Mono: Displays a single 2D view. Use this with the 2D setting on Wildfire displays or with 3D disabled on Emersa displays. Also useful for testing on 2D monitors.
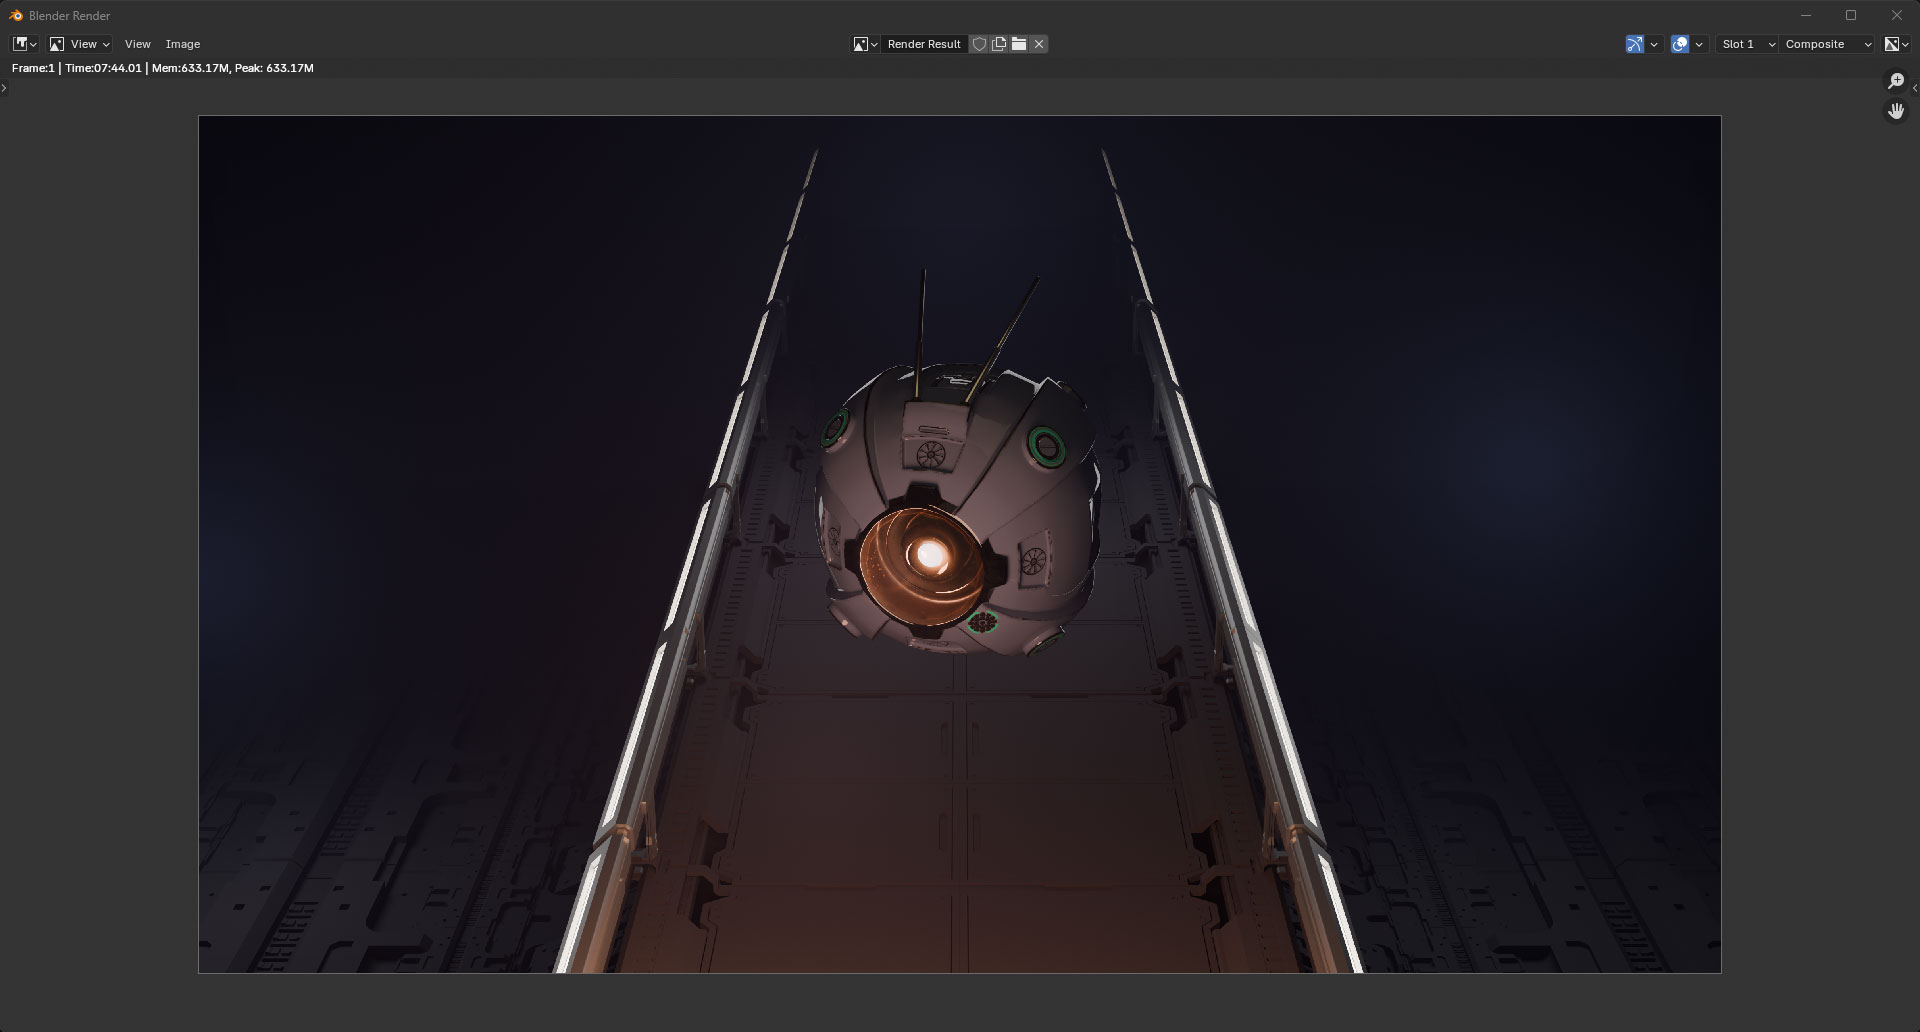
3. Interocular Distance
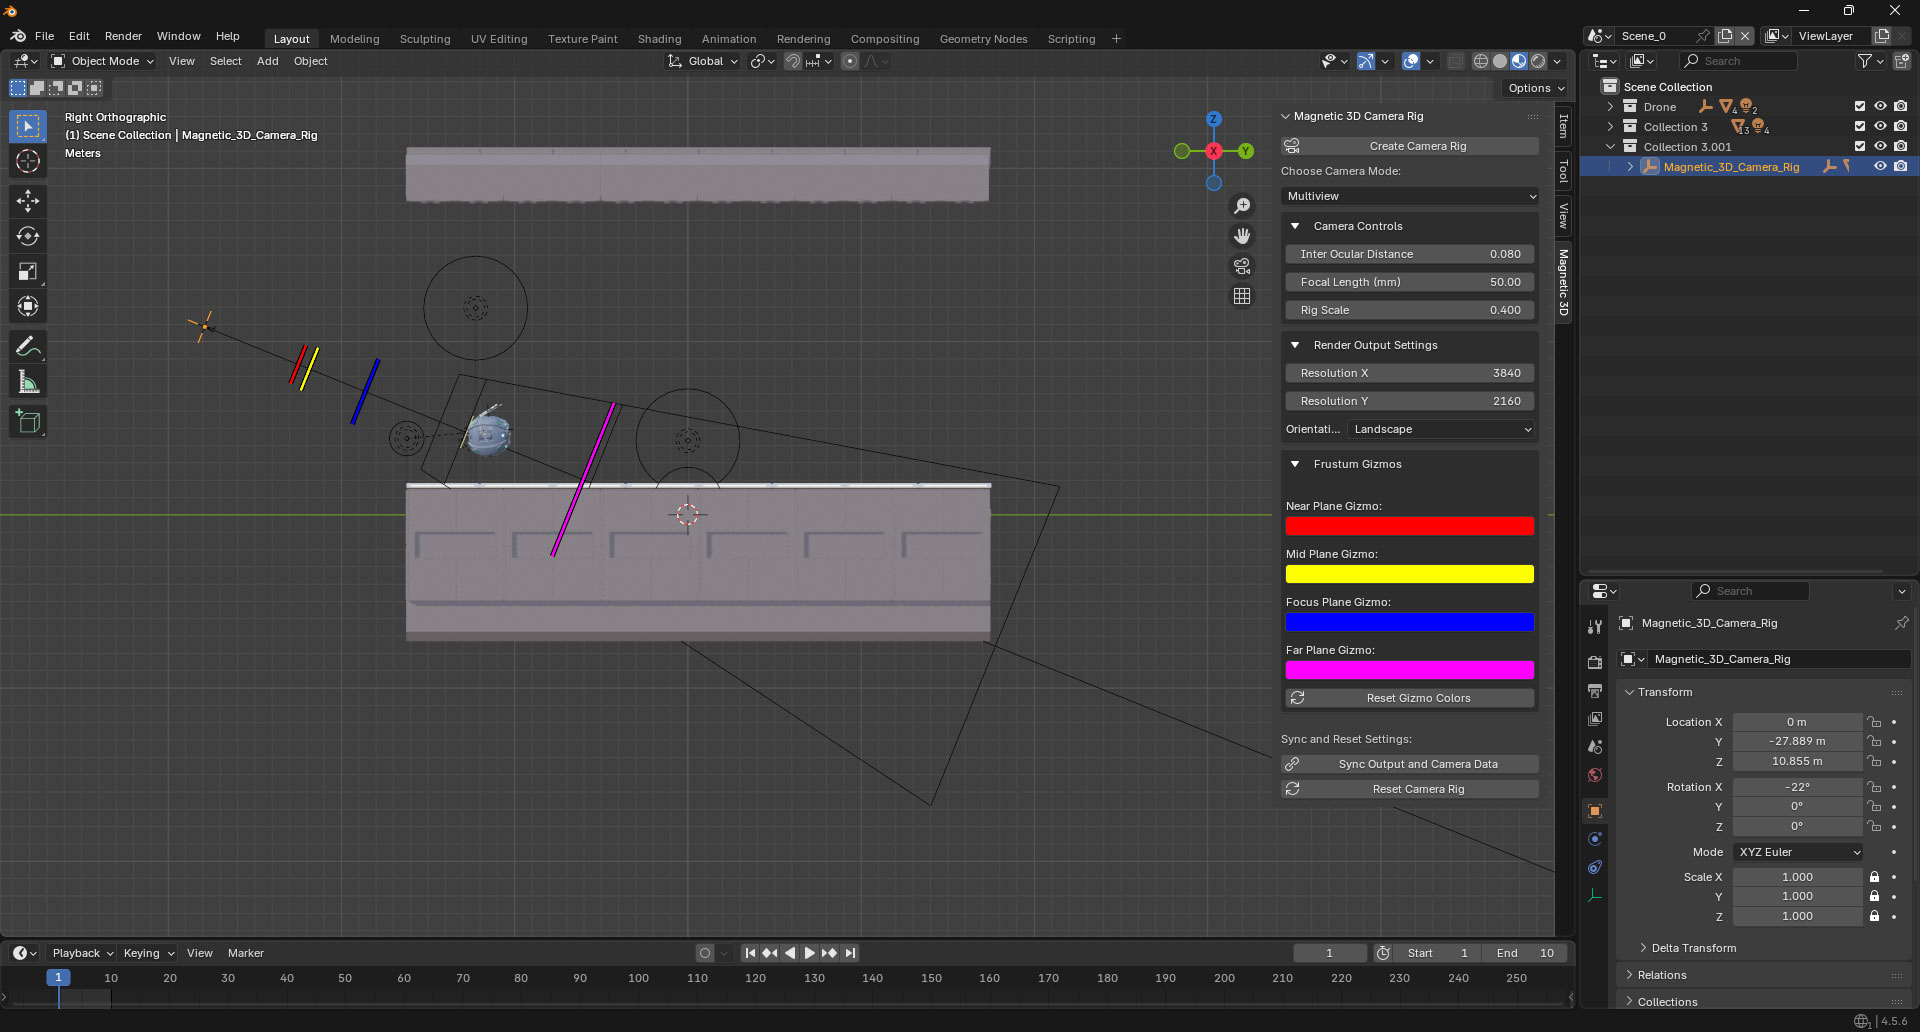
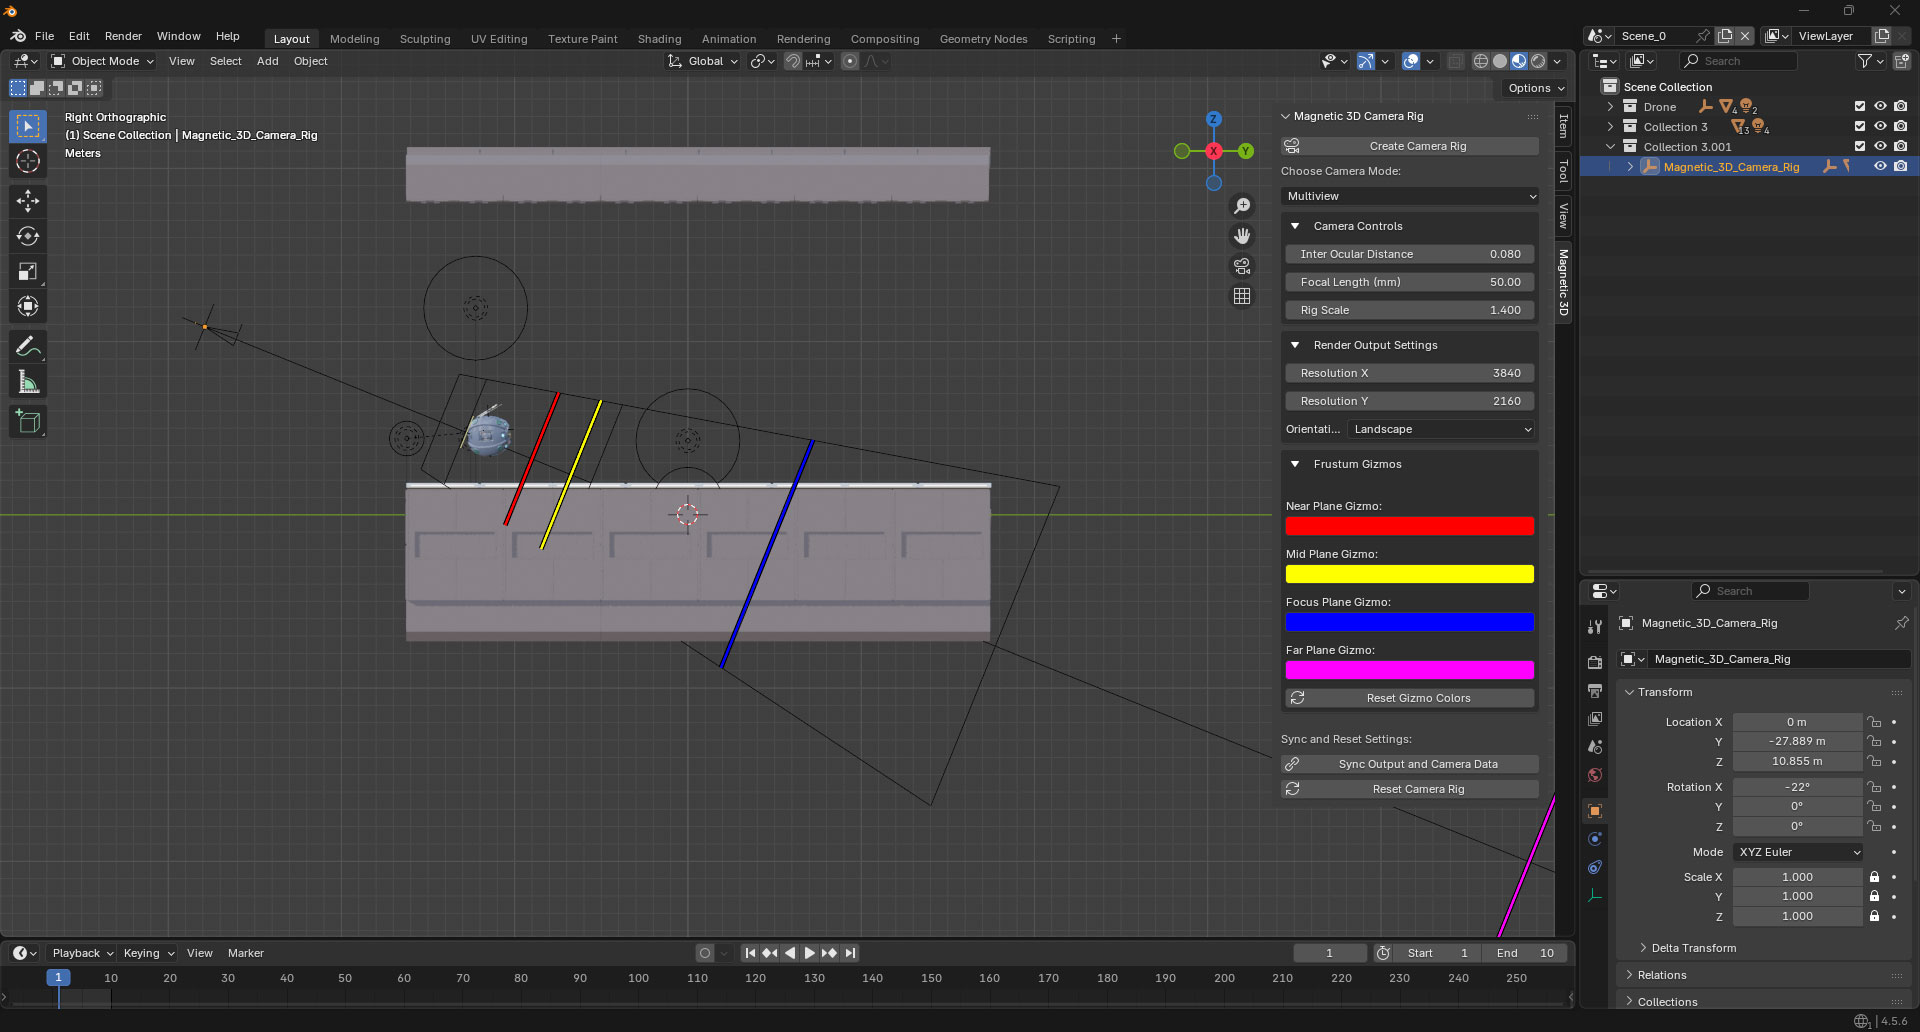
Changes the distance between each of the cameras in the rig. This will affect how near or far objects may be to the camera rig. The Visual Guides will adjust accordingly to show where to place objects in your scene.
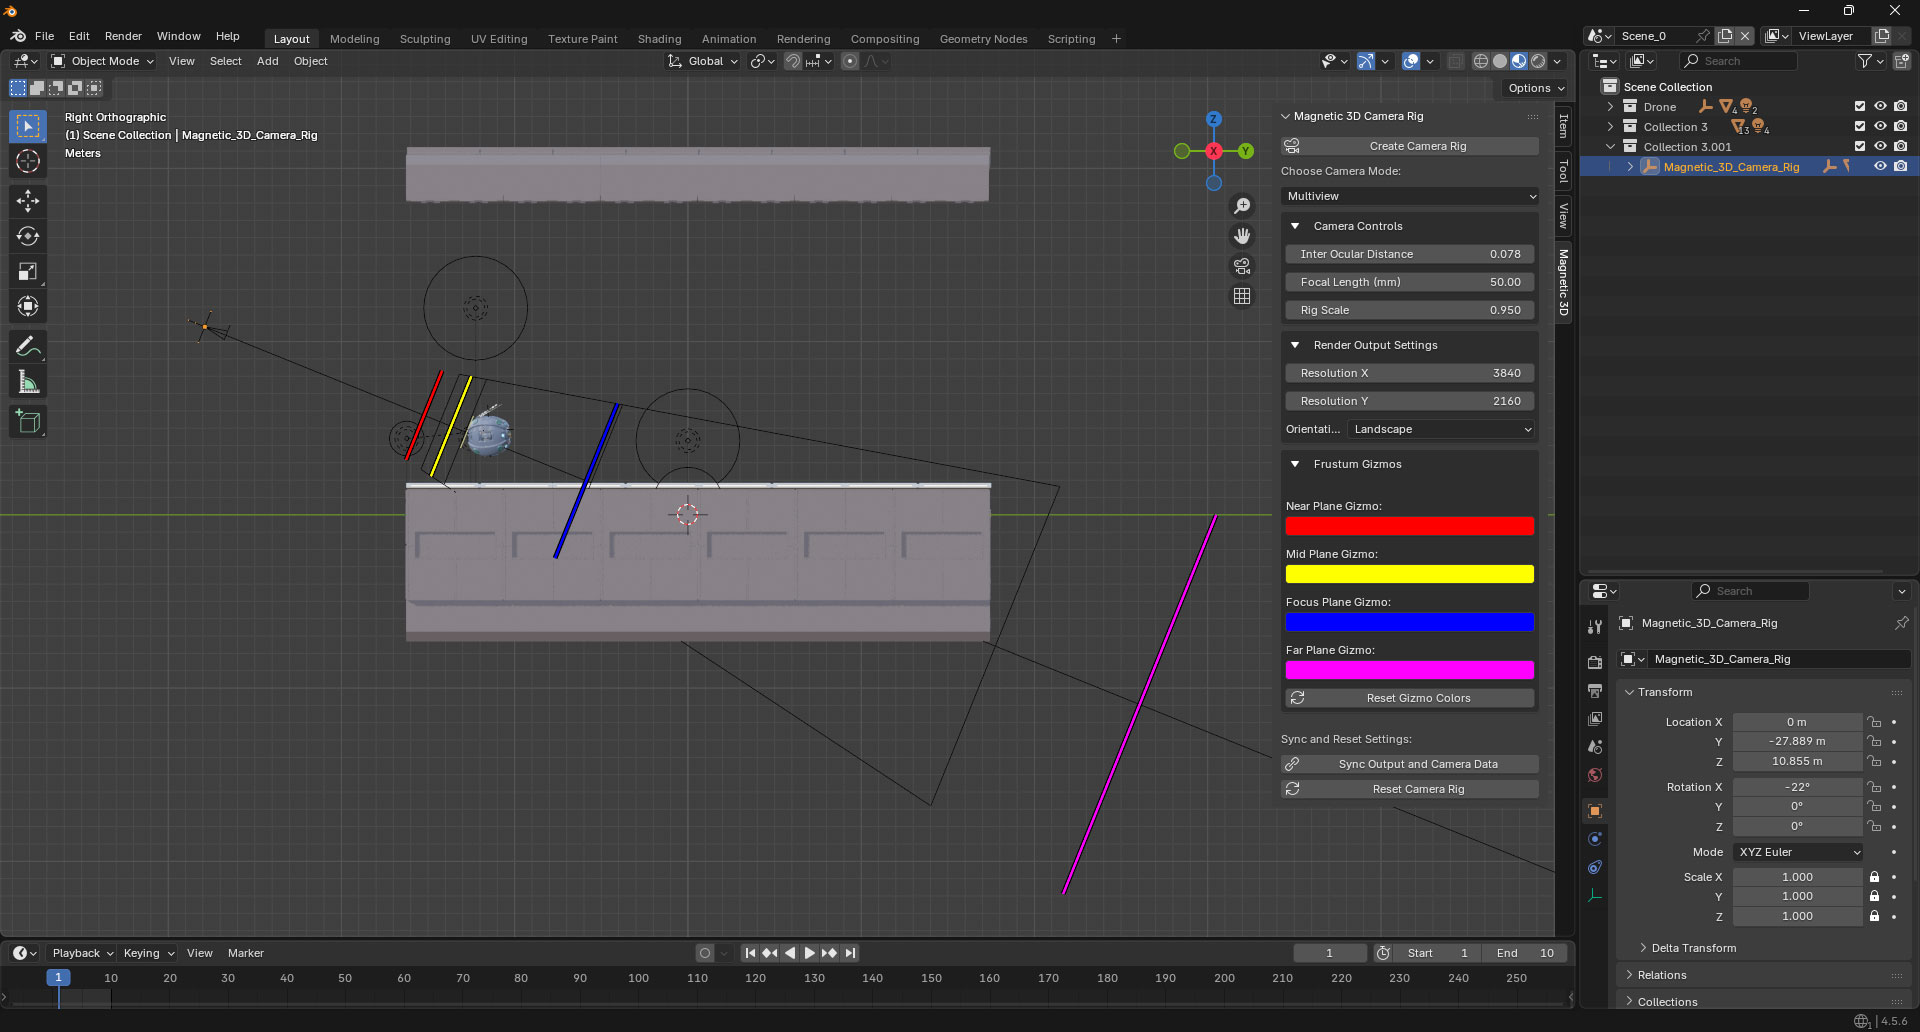
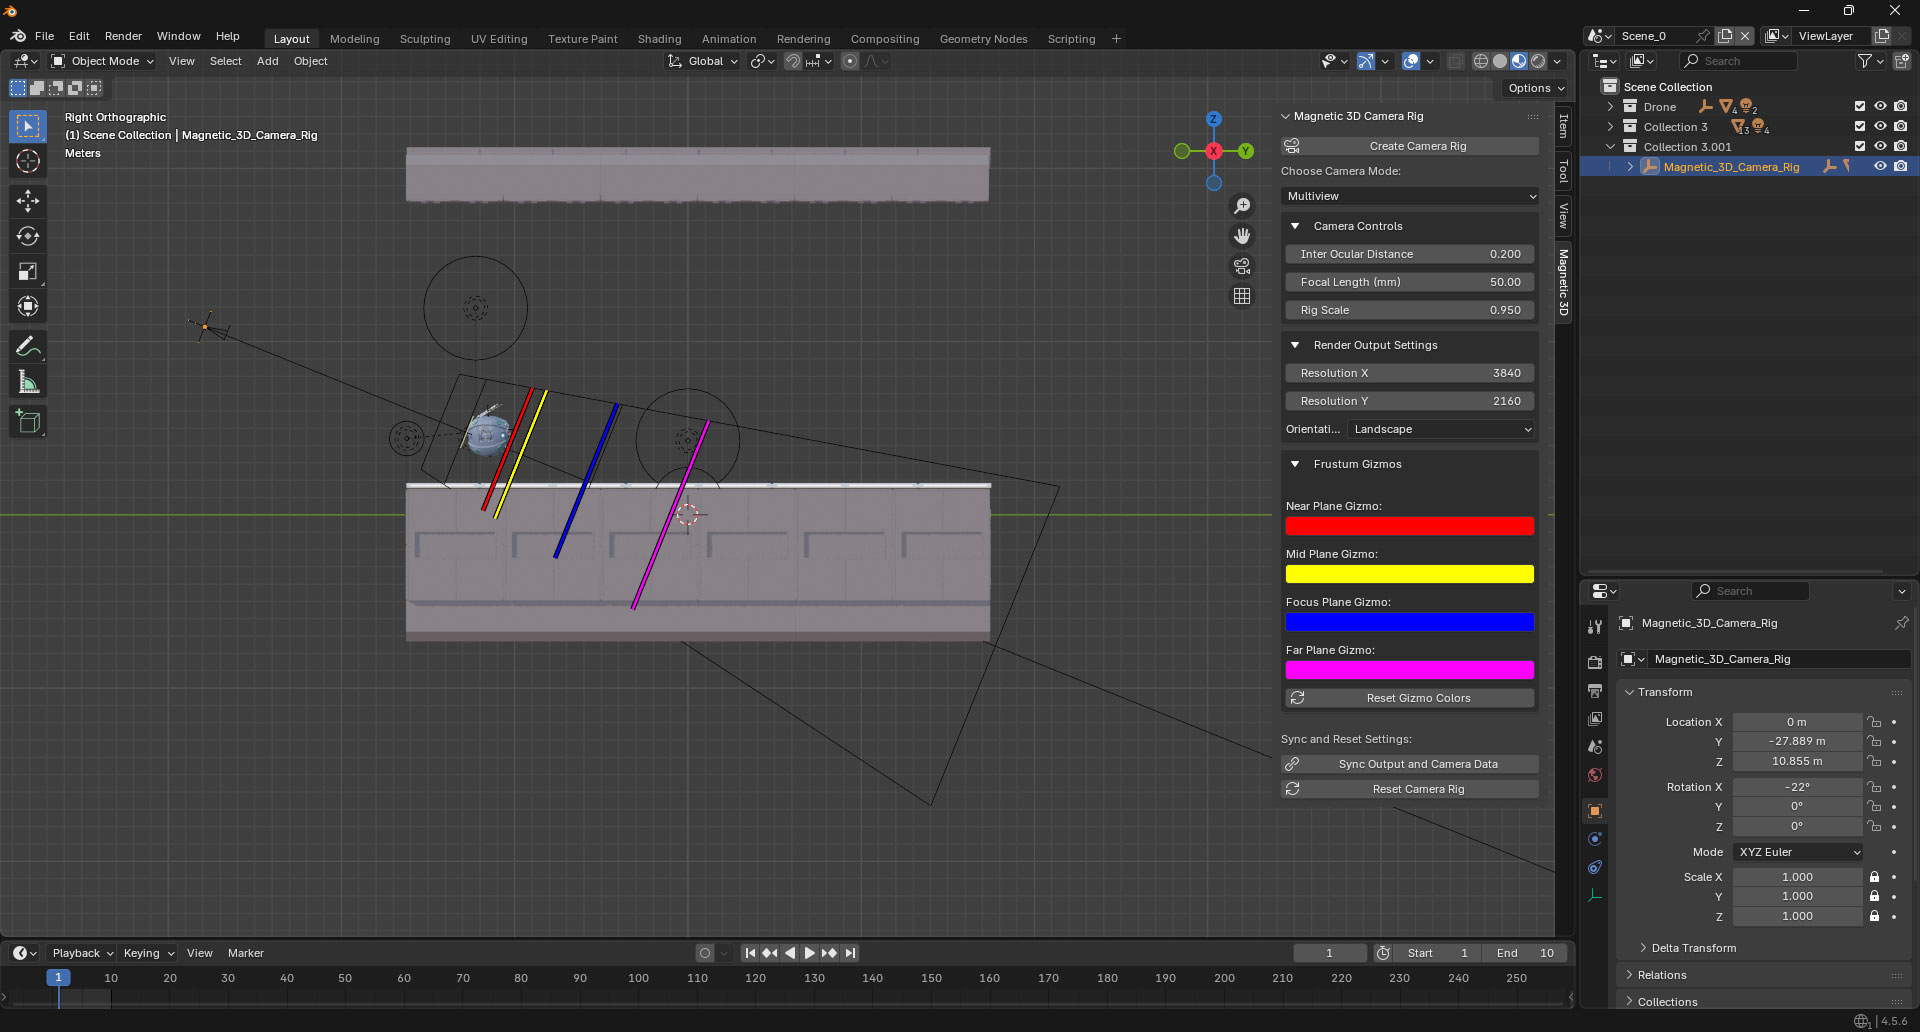
4. Focal Length
Changes the focal length of all cameras in the rig. This will affect how objects appear in the camera view, and the Visual Guides will adjust accordingly.
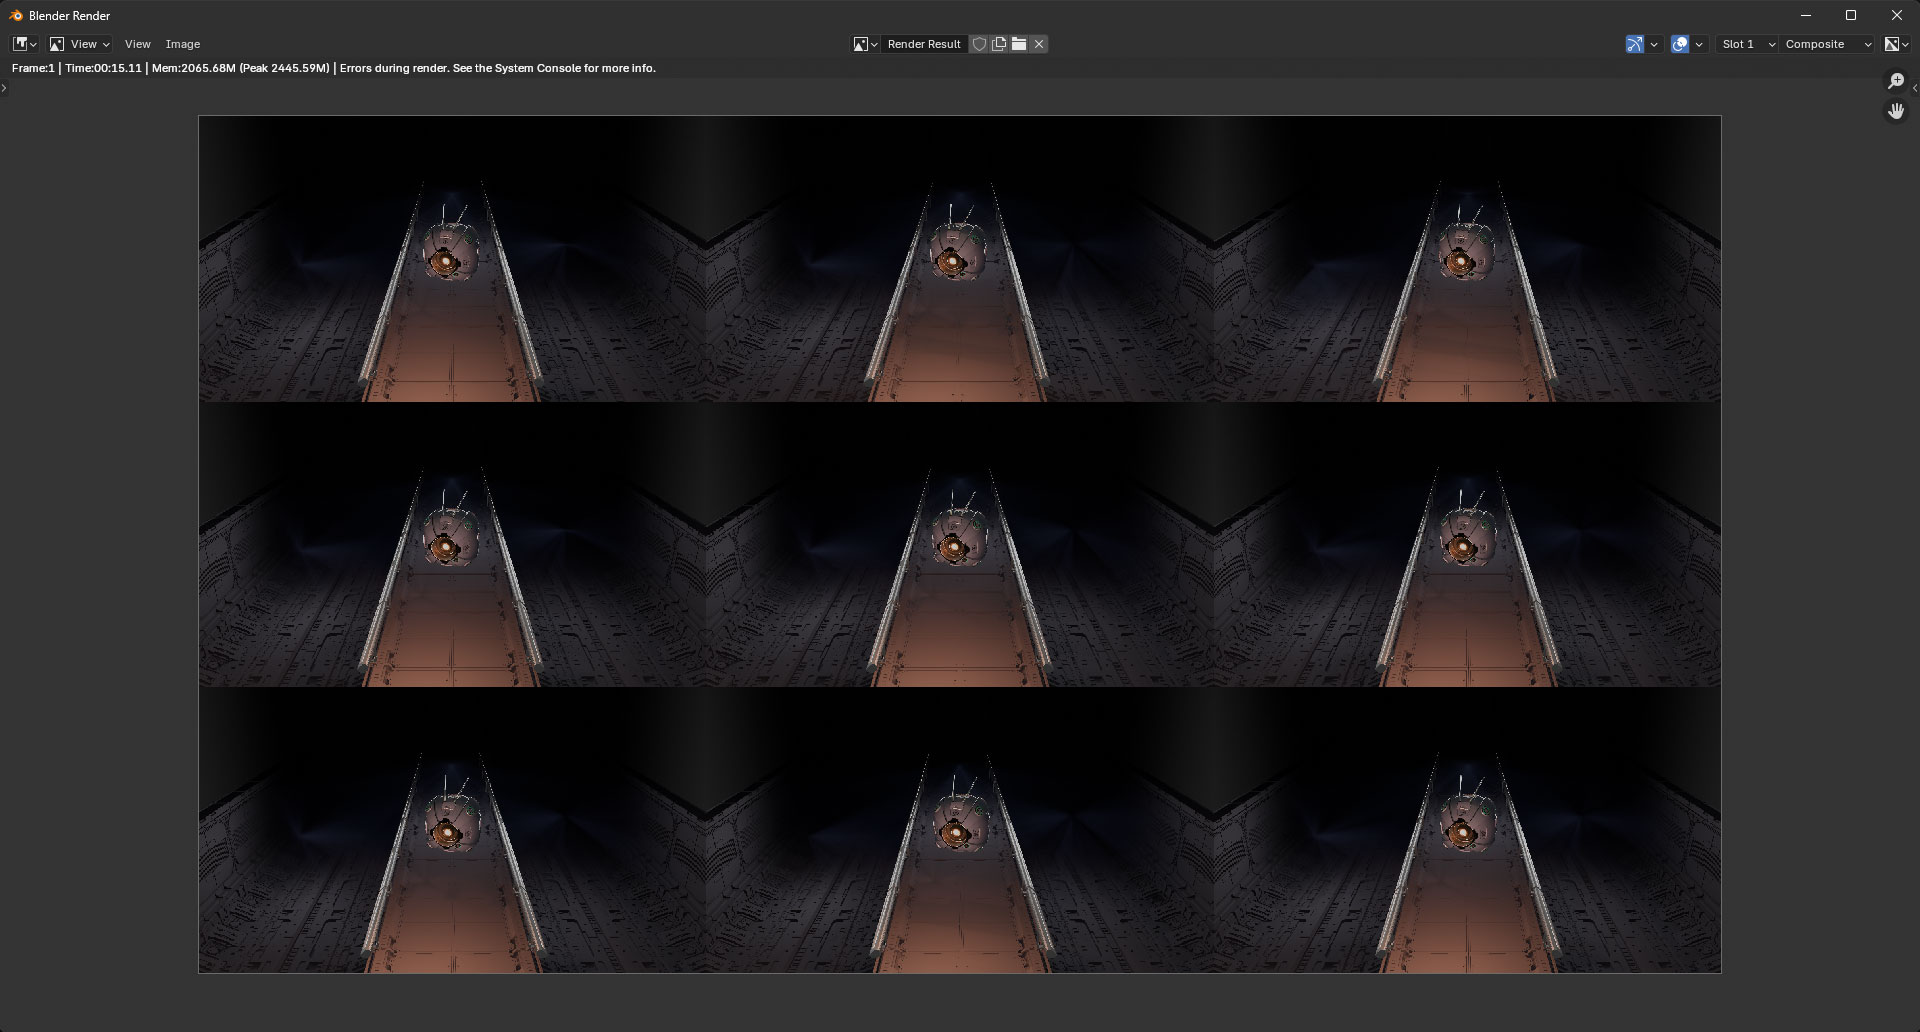
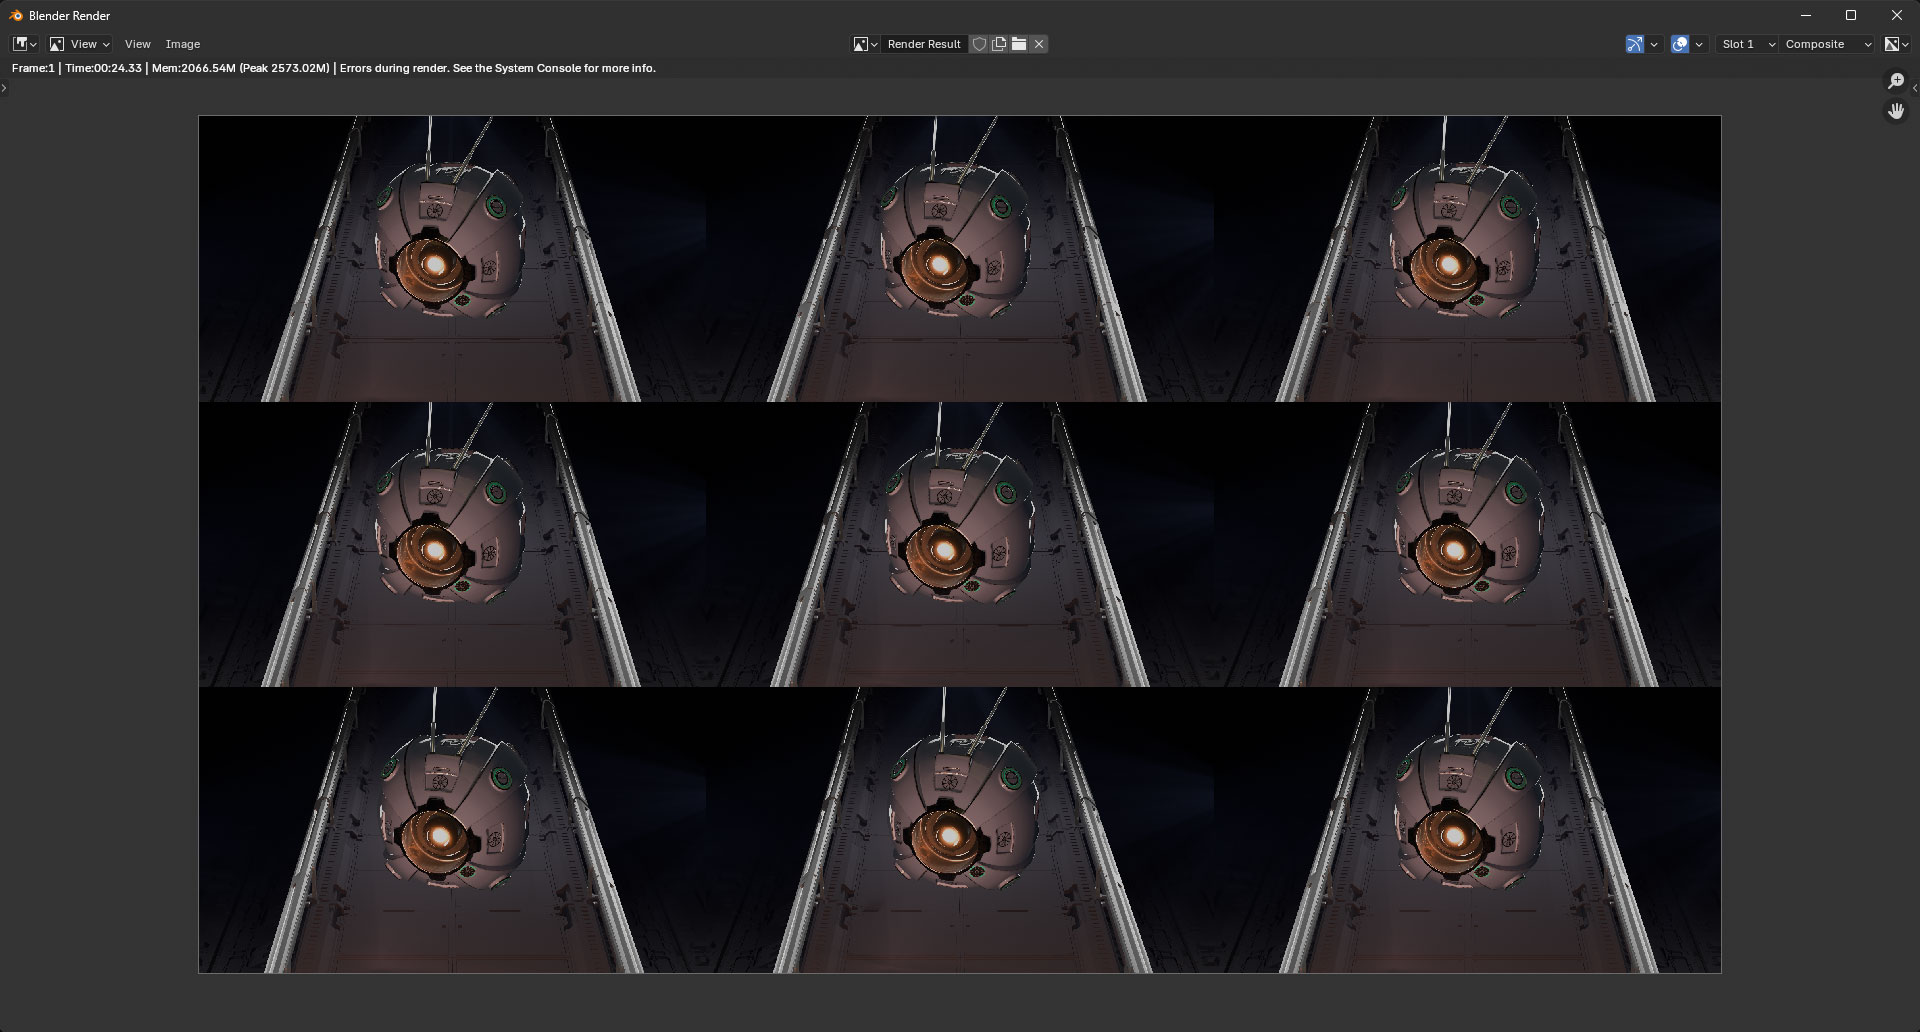
5. Rig Scale
Changes the overall scale of the camera rig, allowing the camera to be closer or further from objects in the scene. The Visual Guides will adjust accordingly.
6. Render Output Settings
Keep this at 3840 x 2160 for high quality renders.
7. Orientation
Switches between Landscape and Portrait orientation, depending on your target display orientation.
Landscape: Use this mode when targeting landscape glasses-free 3D displays.
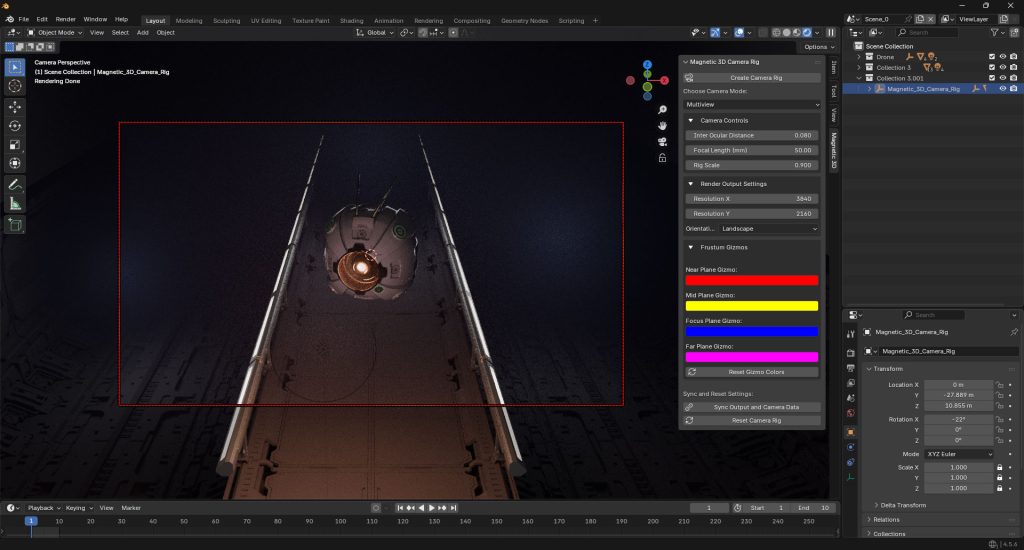
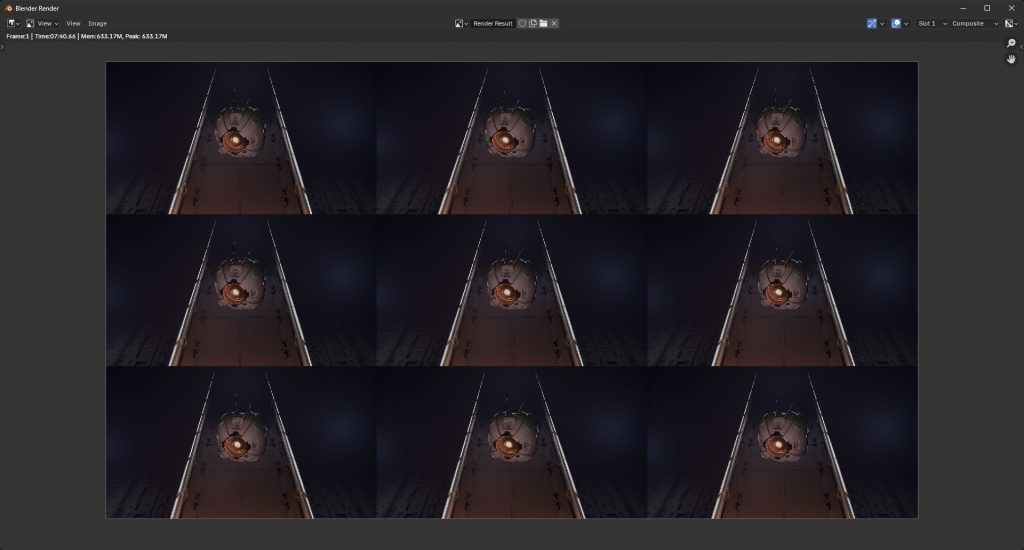
Portrait: Use this mode when targeting portrait glasses-free 3D displays. The camera view and render will appear sideways, which is normal.
8. Frustum Gizmos
The gizmo colors should generally remain unchanged.
9. Sync Output and Camera Data
Press this button to sync data between the cameras, like the depth of field settings and Render Engine. Always press this button after changing any camera or render settings.
10. Reset Camera Rig
This resets all the camera rig settings to their default values.